Tuesday, September 4, 2012

BBQ Chicken & Cornbread Casserole

During our recent trip to Chicago, Brandon and I found ourselves watching the Food Network - a LOT - during our down time at our hotel. This resulted in a great deal of inspiration and served as motivation to get my blog up and running again--FINALLY!

A lot has changed since last year:

  • We had a baby(!!!), Quinlan Anastasia, born March 10, 2012
  • We built a house (meet Brandon, husband and General Contractor -- it's a tough job!)
  • We moved into our house one week after Quinnie was born
  • I was hospitalized with a pulmonary embolism a week later--I survived, but not without further health complications--I now enjoy weekly blood draws and blood thinners, hooray!
  • I am now back to work full time, from home
  • We are still working on the completion of the lower level of our home (a walk-out basement and garage)


What can I say? We're overachievers here at the Bogue house ;).

ANYhow, back to the Food Network. I don't often tune into Rachel Ray's show, but we ended up watching an episode where she used cornbread as a casserole topper. WHAT?! How could we never have thought of this??? Brandon and I both quickly googled the recipe, mouths watering--and then I worked on converting it for our tastes. 

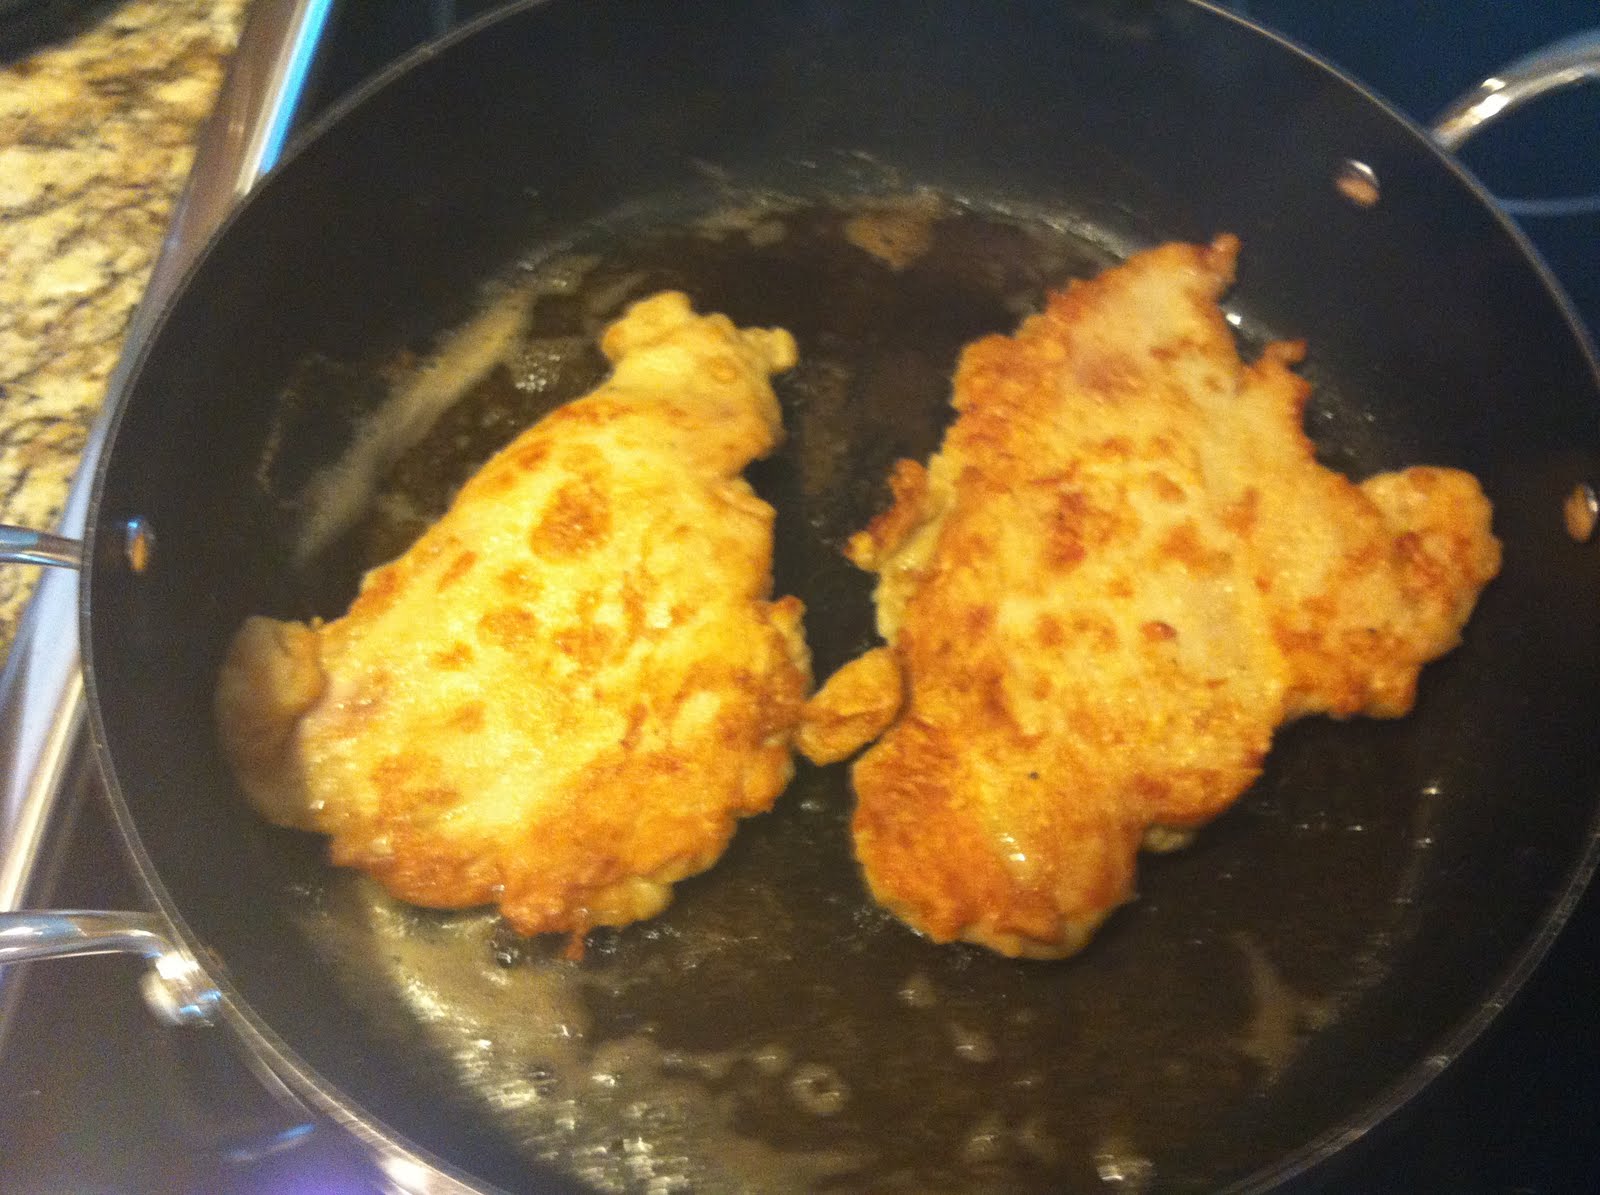
What follows is a modified recipe. I cook large batches because, like many moms out there know, leftovers make weeknights SO much easier! I've also included shots of this awesome herb spread, courtesy of Ina Garten, as well as some Paula Deen Cajun Fried Okra & Green Beans. That recipe was good, but unfortunately, our okra was not (too woody)--but we did finally get the hang of frying in my dutch oven.

Note: Bake time will vary depending on what size casserole dish you use. I used my 5-quart Le Creuset braiser to both prep and bake the casserole in, and it took about 35 minutes.

Enjoy!

BBQ Chicken & Cornbread Casserole


Serves 8

INGREDIENTS

3 tablespoons extra virgin olive oil (EVOO), divided
2 rotisserie chickens, de-boned, chopped into bite-sized pieces
Salt and freshly ground black pepper
1 large onion, chopped into bite-sized pieces
4 carrots, peeled and chopped into bite-sized pieces
4 stalks celery, peeled and chopped into bite-sized pieces
4 cloves garlic, minced
6 tablespoons butter
6 tablespoons flour
4 cups low-sodium chicken stock
1 bottle (18 oz) BBQ sauce (I used Bull's-Eye Texas)
2 boxes cornbread mix (I used Jiffy brand)
2 eggs
6 jalapenos, pith and seeds removed, minced
8 ounces frozen corn, thawed
2 cups shredded cheddar cheese

PREPARATION

Preheat the oven to 375° F.

Heat 2 tablespoons EVOO in a large skillet over medium-high heat. Add the chopped chicken chunks, season with salt and pepper and sauté until golden brown, about 5 minutes. Remove chicken from skillet and reserve on a plate.

Return the skillet to medium-high heat and add another tablespoon of EVOO. Add the onion, carrot, celery and garlic, season with salt and pepper, and cook, stirring occasionally, until the vegetables are tender, 5-6 minutes.

When the veggies are tender, push them to the edge of the pan. Add butter to the center of the skillet and sprinkle the flour over it. Cook for about 1 minute. Add chicken stock and barbecue sauce to the pan and stir to combine. Bring to a bubble, add the chicken back to the pan, season with salt and pepper and simmer the sauce until thickened, about 5 minutes.

While the sauce is simmering, in a medium-size mixing bowl, prepare the cornbread according to package directions, using water as the liquid. Fold in jalapenos, corn and cheese. 

Transfer the chicken mixture to a casserole dish and drop the cornbread batter on top in spoonfuls. Pop into the oven and bake until cornbread is golden brown and filling is bubbling, 20-30 minutes. 

ALSO, CHECK OUT:

Paula Deen's Cajun-Fried Okra & Green Beans


Get the recipe here: http://www.foodnetwork.com/recipes/paula-deen/cajun-fried-okra-recipe/index.html


Ina Garten's Herb Coeur a La Creme


Get the recipe here: http://www.foodnetwork.com/recipes/ina-garten/herb-coeur-a-la-creme-recipe/index.html

Thursday, June 23, 2011

I've Just Gotta Chicken Piccata

Sometimes I even surprise myself in the kitchen. Earlier this week I had a craving for chicken piccata. So naturally, I wanted to know how to cook it. And man oh MAN was it good!

I've had a recipe for Meyer Lemon Chicken Piccata torn out of Cooking Light and set aside for months. Lemon and chicken are one of my favorite combinations by far. Well, anything citrus-y, really.

But of course the recipe from Cooking Light wasn't exactly what I was looking for, so I worked my way through a couple of recipes online and came up with a combination that worked really, really well!

Two notes: 1) never having worked with capers before, I didn't know they were jarred. Took me a bit to find them in the grocery store and 2) we had ginormous chicken breasts from Sam's--I suggest working with regular-sized chicken breasts if you can. Much more realistic portions.

One funny note -- our meat mallet is still packed away, so I improvised with a rolling pin...and broke one of my mother in law's dishes with the handle in the midst of my vigorous pounding. Whoops! AND while I was cooking, a big storm hit, knocked out our power, and then messed up the sensor for our well, so I was without running water for a bit there. What a night! Amazingly enough, the chicken still turned out to be fantastic despite all of the obstacles :).

Bon appetit!


Chicken Piccata with Capers

Serves 4.

2 (6-ounce) boneless, skinless chicken breasts, butterflied, then cut in half
1/4 cup all-purpose flour
6 tablespoons unsalted butter
5 tablespoons extra virgin olive oil
1/3 cup fresh lemon juice
1/2 cup chicken stock
1/4 cup brined capers, rinsed
2 teaspoons minced garlic
1/4 teaspoon sea salt
1/4 teaspoon freshly ground black pepper
1/3 cup fresh parsley, chopped

Place each chicken breast half between 2 sheets of heavy-duty plastic wrap or parchment paper; pound to 1/2-inch thickness using a meat mallet or small heavy skillet. Season chicken with salt and pepper. Place flour in a shallow dish and dredge chicken in flour; shake off excess.

In a large skillet over medium high heat, melt 2 tablespoons butter with3 tablespoons olive oil. When butter and oil start to sizzle, add 2 pieces of chicken and cook for 3 minutes. When chicken is browned, flip and cook the other side for 3 minutes. Transfer chicken to plate. Melt 2 more tablespoons butter and add another 2 tablespoons olive oil. Brown both sides of the other 2 pieces of chicken in the same manner. Add chicken to plate and remove pan from heat.

Into the pan, add lemon juice, stock, capers and garlic. Return to stove and bring to a boil, scraping up bits of chicken from the pan for extra flavor. Return all chicken to the pan and simmer for 5 minutes. Remove chicken to platter. Add remaining 2 tablespoons butter to sauce and whisk vigorously. Pour sauce over chicken; garnish with parsley.


This is right after I demolished the plate. Bang, bang, bang, CRASH...oops!


The damages. :(


And here it is! Soooo yummy! Plated it up with some whole grain pasta with oilve oil, minced garlic, roasted tomatoes, fresh basil and parmesan. A garlic lover's dream!


Wednesday, June 22, 2011

The Ultimate Pantry

Hey there!

So a quick snapshot of our life over the past few months: The move from Chicago to Michigan was a complete success. Working from home is more than I dreamed it would be, and it affords me SO much more time for family, friends and...COOKING!!! I love being able to log out at five and walk into the kitchen.

Only thing is, we're temporarily living with my in-laws, which is fine! -- but my kitchen is packed away. However--that doesn't stop me from cooking!

Today, I don't have an original recipe to share, but I do want to share a few things I've learned over the past month about having a well-stocked pantry. We have five adults living in the house, and we go through a LOT of food. And with the best grocery store a half hour away, you really have to plan ahead when you go shopping.

Following are a few must haves that I find myself picking up on every trip. With these items on hand and some yummy lean proteins, you can whip up pretty much anything!! (And note: I most likely will update this list as I go along...)

  • Fresh Fruits & Veggies
    • Bananas (I swear, my husband's a monkey -- we go through two huge bunches a week)
    • Bell Peppers
    • Berries (any kind--great for crumbles with ice cream--or smoothies!)
    • Broccoli
    • Carrots
    • Celery
    • Cucumbers
    • Garlic (LOVE)
    • Jalapenos
    • Lemons (essential for making your own dressings AND for yummy hummus)
    • Limes (a staple in Mexican cooking)
    • New Potatoes
    • Oranges
    • Pineapple
    • Romaine Lettuce
    • Spinach
    • Strawberries
    • Tomatoes (beefsteak, roma, grape/cherry)--I love roasting grape tomatoes for pasta salads...
    • Yellow & Red Onions
  • Fresh Herbs
    • Basil (can you say "b-r-u-s-c-h-e-t-t-a?")
    • Chives 
    • Cilantro
    • Dill 
    • Old Bay (crab cakes in mind...)
    • Oregano (easy chicken marinade: oregano, evoo & lemon juice)
    • Parsley
    • Rosemary
  • Dairy
    • Agave Nectar (skinny girl margaritas anyone?)
    • Aged Sharp Cheddar (just for snacking! my weakness)
    • Cottage Cheese (goes well with pineapple)
    • Eggs
    • Fresh Mozzarella in Water (caprese salads...mmmmm)
    • Grated Parmesan
    • Half & Half
    • Light Sour Cream
    • Non-Fat Plain Greek Yogurt
    • Pepper Jack (great for sandwiches and burgers)
    • Reduced Fat Cream Cheese
    • Reduced fat shredded anything for salads
    • Smart Balance
    • Unsalted Butter
  • Sauces/Spreads
    • Balsamic Dressing (Paul Newman is a great one)
    • Bolthouse Farms Creamy Yogurt Ranch Dressing (healthiest AND tastiest ranch I've found--look for it in the refrigerated section of your grocery store)
    • Bull's-Eye BBQ Sauce (no high fructose corn syrup here!)
    • Dijon Mustard
    • Hoisin Sauce
    • Horseradish
    • Ketchup
    • Low-Sodium Soy Sauce
    • Natural Peanut Butter
    • Reduced Fat Mayo with Olive Oil
    • Sriracha Sauce (or as I call it, Sir Ha-Cha-Cha!)
    • Tabasco
    • Thai Chili Sauce 
    • Worcestershire Sauce
  • Canned Goods
    • Black Beans
    • Chipotle Peppers in Adobo Sauce (for a smoky, spicy flavor)
    • Diced Tomatoes
    • Dill Pickles
    • Garbanzo Beans (HUMMUS!!)
    • Hot Banana Peppers
    • Kidney Beans
    • Low-Sodium Broths
    • Manwich (what can I say...I love sloppy joes...with some extra jalapeno kick)
    • Stewed Tomatoes
    • Tomato Sauce
  • Dry Goods
    • Almond Accents (amazing, nutritious addition to a salad)
    • Brown Sugar
    • Flour
    • Sugar
    • Whole Grain Spaghetti, Penne, Rotini
    • Whole Grain Orzo
    • Whole Grain Panko
  • Dry Spices
    • Basil
    • Bay Leaves
    • Cayenne Pepper
    • Chili Powder (LOTS)
    • Cinnamon
    • Cumin
    • Fresh Ground Black Pepper
    • Garlic Bread Sprinkle (McCormick, if you can find it -- easy spread on toast with butter -- want some now!)
    • Garlic Powder
    • Ginger
    • Montreal Chicken
    • Montreal Steak 
    • Oregano
    • Paprika
    • Red Pepper Flakes (easy way to up the heat)
    • Sea Salt
    • Thyme
  • Vinegars/Oils
    • Apple Cider Vinegar
    • Canola Oil
    • Extra Virgin Olive Oil (evoo)
    • High Heat Cooking Spray (such as sunflower oil, grape seed oil, etc.)
    • Olive Oil Cooking Spray
    • Vegetable Oil
    • White & Red Wine Vinegar

By keeping your pantry well stocked, you should easily be able to cook up some delicious stuff! One of my faves is a sweet onion dip -- great with some kettle potato chips. Courtesy of Martha Stewart. Served it up at Steph's (aka http://eccentrickitchen.blogspot.com) place a month or so ago, and then it was a hit again with the fam. It's a keeper!! Eat up and enjoy!


Sweet Onion Dip
Makes 2 cups.


1 tablespoon olive oil
2 Vidalia onions (1 pound total), finely chopped
Coarse salt and ground pepper
1 cup reduced-fat sour cream
2 ounces reduced-fat bar cream cheese, room temperature
1 1/2 teaspoons white-wine vinegar
1/4 cup finely chopped chives
Potato chips, for serving

In a large skillet, heat oil over medium. Add onions; season with salt and pepper. Cook, stirring frequently, until golden brown, 12 to 15 minutes. Let cool to room temperature.

In a medium bowl, combine onions, sour cream, cream cheese, vinegar, and chives; season with salt and pepper. Chill dip until slightly thickened, about 1 hour; or cover and refrigerate up to 2 days. Serve with chips.

Monday, May 30, 2011

Crab Cake Craving

I recently got back from a two-week trip to Florida with my husband and family. We spent some time at Disney and then in a house on the ocean in Vero Beach (which was a-ma-zing). We also had the opportunity to eat at Squid Lips in Sebastian, FL--twice. Both times I had their crab cakes and I have to say, upon returning home, I had a craving for more!

Seafood and I haven't always gotten along. I was a ketchup-only burger sort of child, but in my later twenties my palate evolved quite a bit. I discovered the joys of mustard, onion, pickle and tomato, and I developed a love for heat. I find myself asking why you can't just include jalapenos in everything (seriously - why not?). And recently, I've delved into the world of seafood.

So far, I can only tolerate shellfish--lobster, crab, scallops, shrimp. Haven't tried mussels, yet--not that brave. And I still can't get past the fishy taste of fish (go figure). BUT - I have resolved to try my hand at cooking up some seafood dishes on my own as my husband loves them, and I think he's tired of chicken, pork and beef.

Why not start with a crab cake?

Upon googling the "best crab cake recipe" I started to realize how many variations of crab cake recipes are out there--AND how defensive people are of their ingredients and cooking methods. So, I did what I usually do--jotted down what I found to be the "essential" ingredients, then picked a few from others that sounded good. I also researched ideas for a lemon aioli, like the Grillroom Chophouse & Wine Bar in Chicago serves with theirs (my favorite cakes in Chicago so far). This is apparently sacrilege to those who live on the East coast, but I'm a condiments girl, so I really can't help it!

Anyhow, enough babble - here's the recipe, step-by-step pics and a few lessons I learned along the way. Hope you like it!

Crab Cakes with Lemon-Horseradish Aioli

Serves 8 to 10 people, number of cakes depends on size.

Ingredients

2 lbs lump crab (blue or Dungeness)
6 green onions, chopped
1 cup finely chopped red pepper
1 cup light mayonnaise
2 eggs
1 teaspoon Worcestershire sauce
1 lemon, juiced
1 teaspoon sea salt
2 cups panko
4 tablespoons flat leaft parsley
1 teaspoon dijon mustard
1 teaspoon Old Bay seasoning
1 teaspoon celery salt
Dash of paprika, to taste
About 4 tablespoons butter
Lemon aioli, recipe follows

Directions

In  a large mixing bowl, combine all ingredients except butter and one cup panko.

Form crab cakes on a parchment paper-lined cookie sheet. Use a spatula to press ingredients together well and a drinking glass or biscuit mold to form them into circles. Be careful not to make them too thick. Sprinkle some of the reserved panko over the top of the cakes and press it down with a spatula.

Refrigerate for at least half an hour.

In a large skillet, melt a few tablespoons of butter over medium-high heat until butter becomes frothy. Add crab cakes, panko side down, to pan. Saute for about five minutes, sprinkle panko on the other side of the cakes, flip and saute for about another five minutes until cakes are crisp and golden brown. Serve hot with lemon aioli.

Notes: I made my cakes too thick, and they browned too quickly on the outside, so the center of the cakes weren't as hot as I'd have liked. Upon researching them later, some recommend no thicker than 3/4". Refrigerating before searing is a MUST. It helps them meld together better. Some will inevitably fall apart on the skillet. But they still taste good! 

Lemon-Horseradish Aioli


Ingredients

1 cup mayo
4 tablespoons heavy cream
2 lemons, juice and zest
2 tablespoons horseradish
1 clove garlic, minced
1 teaspoon thyme

Directions 
In a medium bowl, mix all the ingredients together.
 
The best crab I could find was in a can - but it tasted fine. At $12 for 8 ounces, I used half crab meat, and have flaked crab-flavored seafood ($3 for 8 ounces). I chopped the imitation crab to make it the same consistency as the real crab meat. No one could tell the difference.

Clearly, my eyes were bigger than my stomach. These suckers were HUGE!


Oooh la la! So delicious!

Served 'em up with some fresh Michigan asparagus (we're enjoying an extended season thanks to all the rain) and some potatoes tossed in an herb-packed pesto. YUM!
Nothing like a good lemon aioli to complement the crab!
Zingy, citrus-y lemon with a kick of horseradish. Easy peasy!

Tuesday, May 3, 2011

Feeling Saucy!

Yesterday was a loooong day. Didn't leave work until 7:00 pm, so I was home by 8:00, and I thought I'd just skip dinner and snack on some veggies instead.

How wrong I was.

Brandon: "Hey hun, we have a ton of vegetables in the fridge that we need to use up before vacation. Do you think you could make another pasta salad?"

Me: "Oh yeah! Sure!" Chop, chop, chop, chop.

Brandon: "Babe, I didn't necessarily mean tonight."

Me: "Oh, it's no problem!" Chop, chop, chop, chop.

And so the cooking obsession continues. But the beauty of it is, with the right combination of herbs, spices, etc., cooking can be kind of a spontaneous thing! Last night, I experimented with sauces and, with Brandon's help, grilled up some Heat 'n Honey Grilled Chicken, accompanied by what I'm now calling a "Dill-Dijon Pasta Salad." Made a great, fresh dinner and some yummy leftovers for Brand-o to take to work. I'm finding pasta salad (which really should be called veggies WITH pasta, since it's a two-to-one ratio in this recipe) is a great way to use up leftover raw veggies.

One more day before vacayyyyy. Hope everyone is doing well! Summer can't be too far off.........right? Ah, who cares -- enjoy the day!


Heat 'n Honey Grilled Chicken

Makes eight servings, 1/2 chicken breast per serving.

2/3 cup hoisin
1/2 cup Sriracha sauce (or other chili sauce)--this was enough to leave my tongue tingly. Use less if you aren't into heat, more if you want to challenge your taste buds!
1/4 cup honey
2 tablespoons orange zest
4 boneless, skinless chicken breasts

Place chicken breasts in a Ziploc bag. Pour enough marinade in to coat chicken. Marinate for at least 30 minutes, or overnight for best results. Reserve remaining marinade. Brush over chicken while grilling.


Dill-Dijon Pasta Salad

Makes 12 servings (great for parties!).

Dressing
1 cup light canola oil mayo
1 cup light sour cream
1/2 cup dijon mustard
1/2 a red onion, diced (any kind of onion will do)
Juice of one lemon
2 cups feta cheese, crumbled (or any other cheese you like--I used reduced fat sharp cheddar because it was on hand)
1/4 cup fresh dill, chopped (I like a lot of dill)
2 cloves garlic, minced
1 tablespoon fresh parsley, chopped
1 teaspoon sea salt
1/2 teaspoon red pepper flakes
1/2 teaspoon ground black pepper

Salad
1/2 box whole grain pasta (rotini, penne or shells work best--avoid linguine and spaghetti)
Veggies, around one cup each (I typically use broccoli, cucumber, carrots, celery, cherry tomatoes and peas--but whatever you have fresh and on hand will work)
  1. Cook pasta according to directions. Strain under cold water. Line a cookie sheet with parchment paper and spread pasta across it. Place in refrigerator to cool and dry.
  2. Mix all dressing ingredients together. Refrigerate in an airtight container for at least one hour to allow flavors to blend.
  3. Chop veggies into bite-sized pieces.
  4. Combine dressing, veggies and cooled pasta and refrigerate two hours before serving.

Monday, May 2, 2011

Roasted Jalapeño Hummus -- My New Obsession

If you've been around me lately, you know that I'm obsessed with making my own hummus. What could have spurred such a craze? In a word, Costco. One fine spring day (that's a lie, it was probably rainy and cold given the spring we've had), Costco had a sample table set up with Fountain of Health brand "Humm!" hummus. They had four or five flavors to sample including carmelized onion, Greek olive and--my fave--roasted jalapeño hummus.And they're all natural! So you can freeze them!

I'm telling you, this hummus changed my life.

I immediately bought the two-pack, and continued to enjoy it throughout the week on whole grain crackers, toasted whole grain pita and cucumbers. I couldn't get enough of it! So you can imagine my disappointment when I returned to Costco and they carried only ONE of the flavors--Greek olive--and I hate olives! Grrrrr.

Desperately, I turned to the Interwebs, fervently googling "Fountain of Health." I mean, this day in age, can't you get pretty much EVERYTHING you want at least mailed to you? The answer is no. No, you can't. Fountain of Health is "Fontaine Santé" and is headquartered in Canada. CANADA. That's a long drive, my friends. Some stores in California reportedly carry it, but there is no way, no how to get it shipped to me. Believe me, I tried. And yes, I did email the company directly--and surprise, they didn't respond. Sigh. I've always wanted to visit Montreal, mostly for the shopping. I never thought it'd be on a hunt for hummus!

I had no choice but to start making my own hummus and found it to be surprisingly simple! I also discovered that the chopping attachment for my immersion blender is big enough to make the perfect amount of hummus for the week. So I started experimenting with various recipes, trying to find those with ingredients that match those in the "Humm!" hummus (I kept the container--of course). And finally--FINALLY--I've achieved the taste I was looking for.

And I'd be remiss if I didn't mention the other obsession inspired by Costco's Humm! sample day: "Food Should Taste Good" brand Multigrain chips:
http://www.foodshouldtastegood.com/#/multigrain/

They are amazing. They are the best tortilla chip I've ever had. And they're made with whole grains. Go. Buy them. You can even order online!

Anyhow, on to the recipe. Enjoy!

Roasted Jalapeño Hummus

1 15-oz. can garbanzo beans
3 jalapeño peppers (de-seeded if you don't like it hot)
Sliced jalapeño peppers for garnish (optional)
1/4 cup water
3 tablespoons fresh-squeezed lemon juice
4 tablespoons olive oil
3 cloves garlic, minced
1/2 teaspoon sea salt
1/4 teaspoon cumin
Cayenne pepper

  1. Remove stem from jalapeños, slice horizontally into quarters and place in a small, oven-safe dish. Drizzle with two tablespoons olive oil. If you don't want as much heat, remove the pith and seeds. Place dish in broiler or toaster oven set on "broil" and bake until skin is blistered and softened, rotating peppers once. Remove from oven and cool to room temperature. Reserve olive oil from dish to drizzle over hummus later for more heat, if desired.
  2. Combine lemon juice and water together in a small bowl.
  3. Process chickpeas, garlic, salt, cumin and cayenne in a food processor until well ground (I use the chopper attachment on my immersion blender). Add lemon and water mixture, a bit at a time, periodically scraping down the sides of the processor. Repeat with remaining olive oil.
  4. Chop cooled jalapeños into small chunks and add to mix, processing for about 30-40 seconds.
  5. Transfer to bowl, sprinkle with cayenne and top with sliced jalapeños and reserved oil, if desired. Store airtight for at least an hour to allow flavors to blend.

Enjoy with toasted whole grain pita, cucumbers, whole grain chips--or in a wrap as a replacement for mayo. Makes a tasty addition to sandwiches, too! Here are my lame attempts at capturing this process--I promise to get better at taking pictures!

Although many other recipes use it, I chose to omit tahini. In trial runs it didn't really add any flavor--but it did add fat (tahini is a sesame seed/olive oil paste).


Best kitchen gadget. Ever. Thanks, Aunt Lulu!

Errr...the family got to the hummus before I got to my camera. Whoops! And yes, I confess, I couldn't resist making some stuffed jalapenos on the side :). Double yum!

Thursday, April 28, 2011

Low Carb Lovin'

Yesterday was yet another long day as days often seem to be when you’re coming up on a much-needed vacation. And for me, cooking is a great way to zone out and relax. No--seriously! Nothing calms me down more than chopping veggies :).

There’s a dish I used to eat all the time at Uno’s during the low carb craze – Baked Stuffed Chicken. I thought I’d revisit it since it contains so many ingredients I love: mozzarella, broccoli, spinach, tomatoes, basil…what’s not to like? Best of all, it’s pretty dang healthy—a good thing given that since our wedding, Brandon’s lost a record amount of weight and for me, just the opposite! Those boys and their metabolisms.

Anyhow, I found a few attempts online to replicate Uno’s recipe and adapted them to my taste. So I made it last night for Brand-o and we both loved it!! Only one thing I changed in the recipe below--more cheese! We both agreed we wanted a bit more gooey mozzarella to pull the whole thing together.

So, here we go:

Goodness-Stuffed Chicken

Makes 8 generous servings.

1 head broccoli, chopped
4 roma tomatoes, diced
2 cups baby spinach, shredded
4 tablespoons basil, chopped
4 cloves garlic, minced
4 cups low-fat mozzarella cheese (we like a LOT of cheese)
8 chicken breasts
  1. Preheat oven to 375°.
  2. Combine all ingredients (except chicken) in a large bowl, reserving one cup mozzarella.
  3. Wash and dry chicken. Butterfly chicken breasts by cutting in from the side—do not cut all the way through.
  4. Place chicken between two sheets of parchment paper. Using a mallet, pound meat until thin, working from the middle out.
  5. Place first butterflied chicken breast in baking dish, spoon a generous amount of stuffing on top, and fold the chicken over. Secure with toothpicks if necessary. Some stuffing may spill out, and that’s fine. Repeat for the remaining breasts. Any leftover stuffing can just fill in around the breasts in the baking dish.
  6. Sprinkle mozzarella over chicken breasts.
  7. Bake for 45 minutes.
Roma tomatoes work well because they're not as juicy as beefsteak tomatoes. 

Clearly not enough cheese! But look at all that green -- YUM!


Et voila! You’ve got yourself a scrumptious meal packed with veggies and protein. I also whipped up some instant whole grain rice for a healthy side. You know--gotta fatten Brandon up somehow ;).